To open the Manage Snapshots dialog, click the Snapshots button on the Extras ribbon.
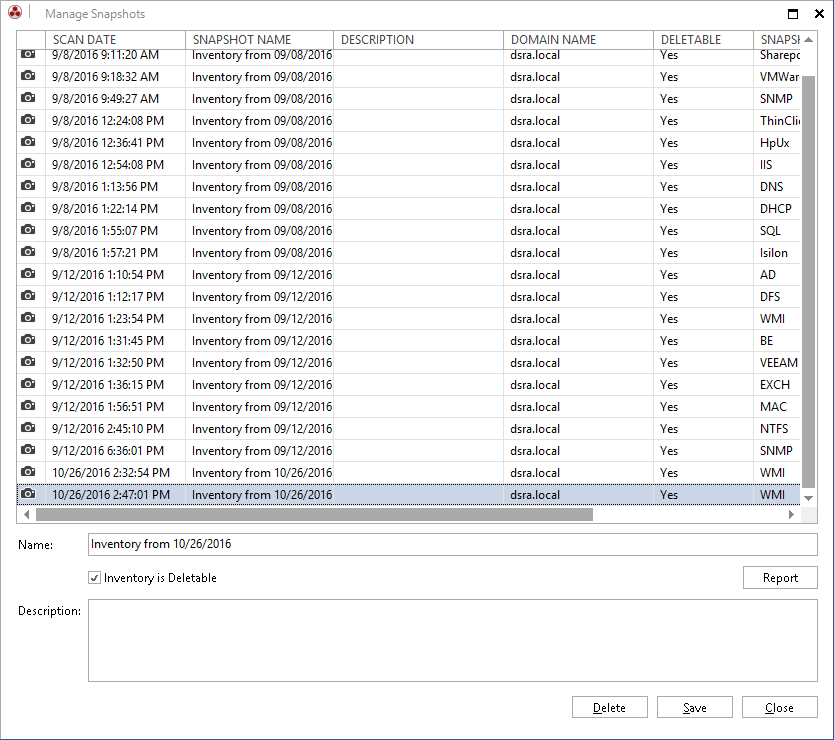
Each time you perform an inventory scan, Docusnap creates a snapshot. Its name is Inventory from, with the current timestamp appended to it. This dialog lists all snapshots that have been saved to the database. If required, you can rename a snapshot. Enter the new name in the Name field.
You can add a description to each snapshot. If you want to compare two snapshots, the descriptions can be very helpful in selecting the correct ones.
In Docusnap, only a certain number of snapshots is saved for each system. You can set this number in the Options dialog. If this number is exceeded, the oldest snapshots will be deleted. If you want to retain a snapshot, exclude it from the automatic deletion process by clearing the Scan is Deletable checkbox. Undeletable snapshots will not be counted among the number of archived snapshots.
To delete a snapshot, select it and then remove it from the database by clicking the Delete button.
|
When you delete a snapshot, all associated data will be deleted along with it! |